3 STEM Activities for Your High Schooler to Try
byChristopher E. Nelson
8 min to read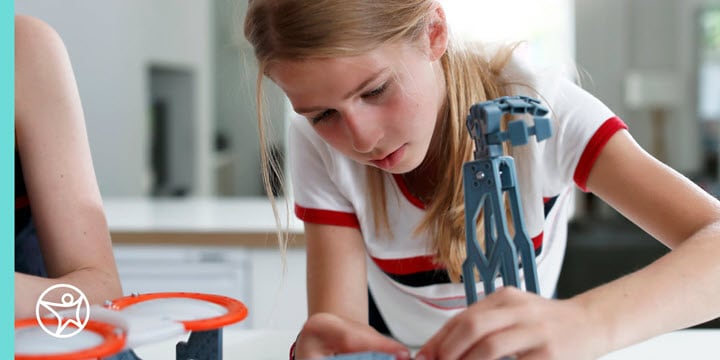
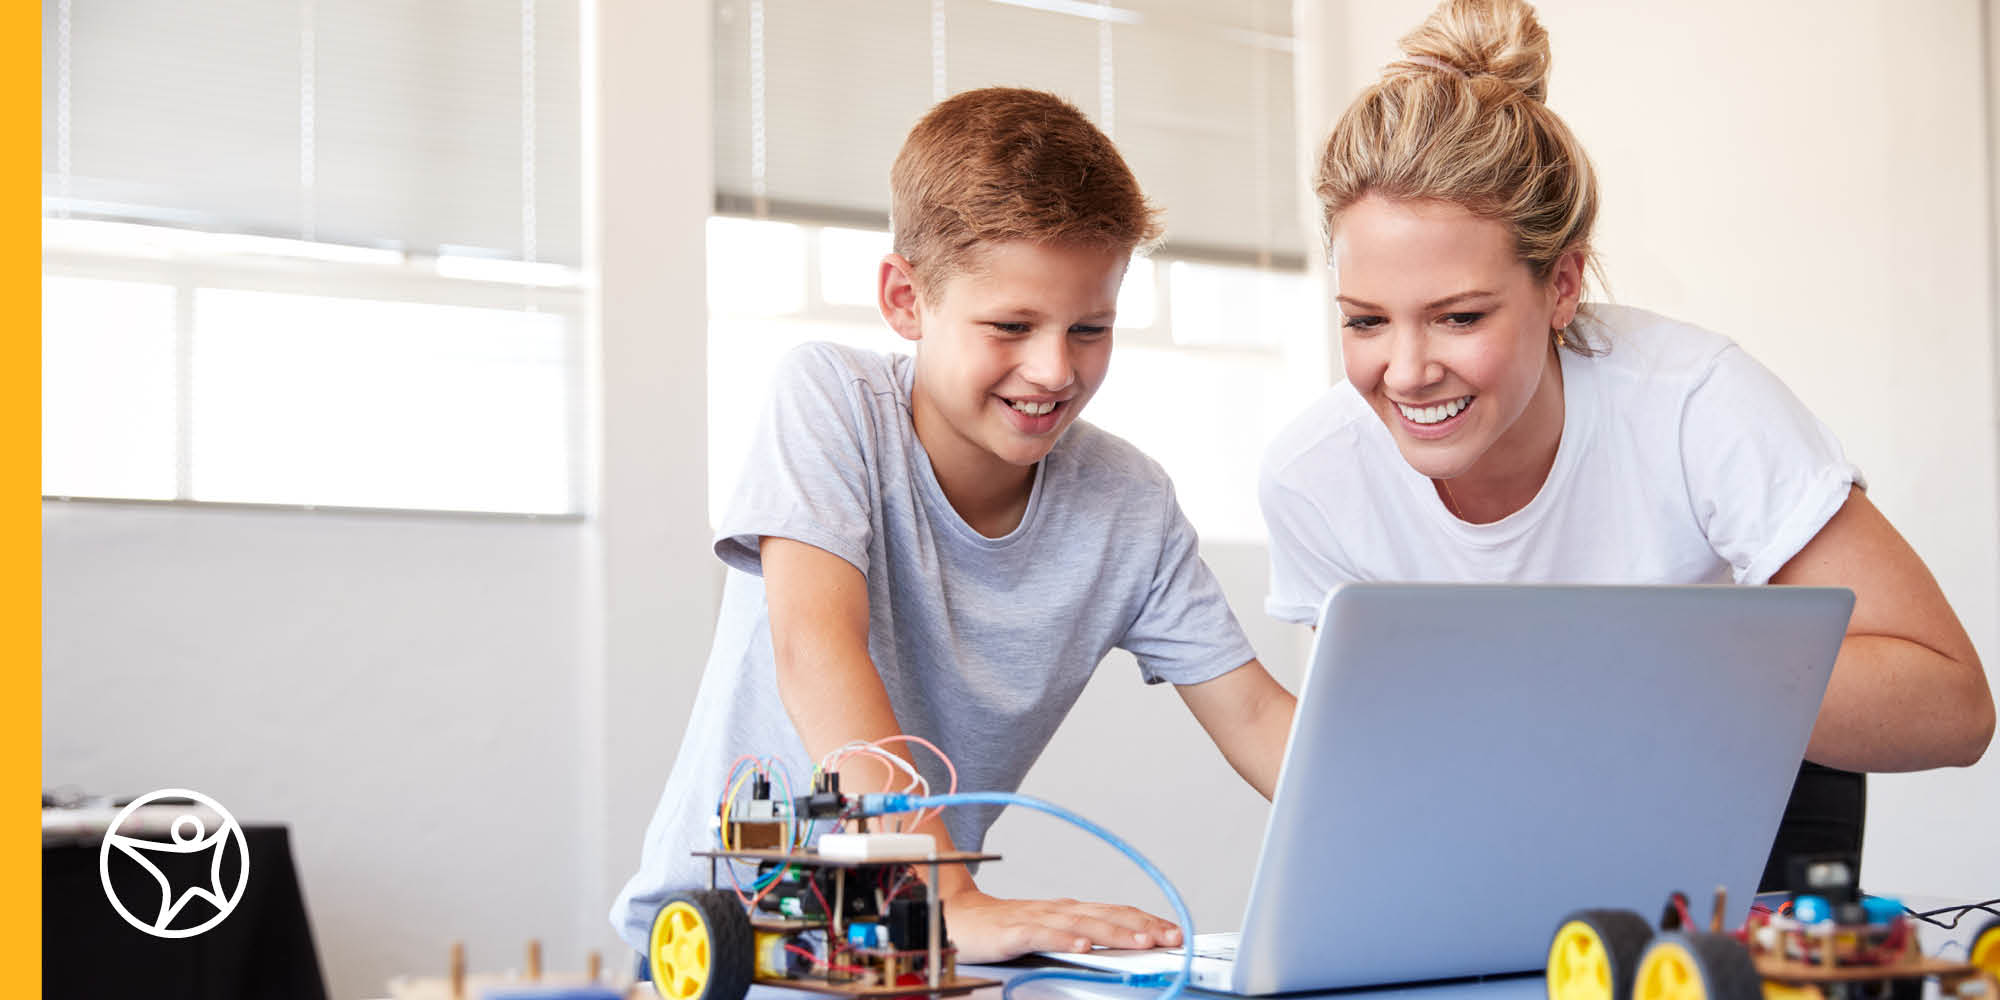
You’ve probably heard about STEM, the integration of science, technology, engineering, and mathematics concepts into your child’s educational program. STEM concepts make up a centerpiece of our country’s comprehensive education recommendations, and are a part of the Connections Academy® K–12 online school curriculum.
Nationwide, growth in STEM careers is expected to outpace(opens in a new tab) that of any other occupational category by 8 percent by 2029. Thanks to this interest, STEM experiments can be great additions to virtual school or homeschooling programs, or to supplement the interests of a student attending a brick-and-mortar school.
The Importance of STEM
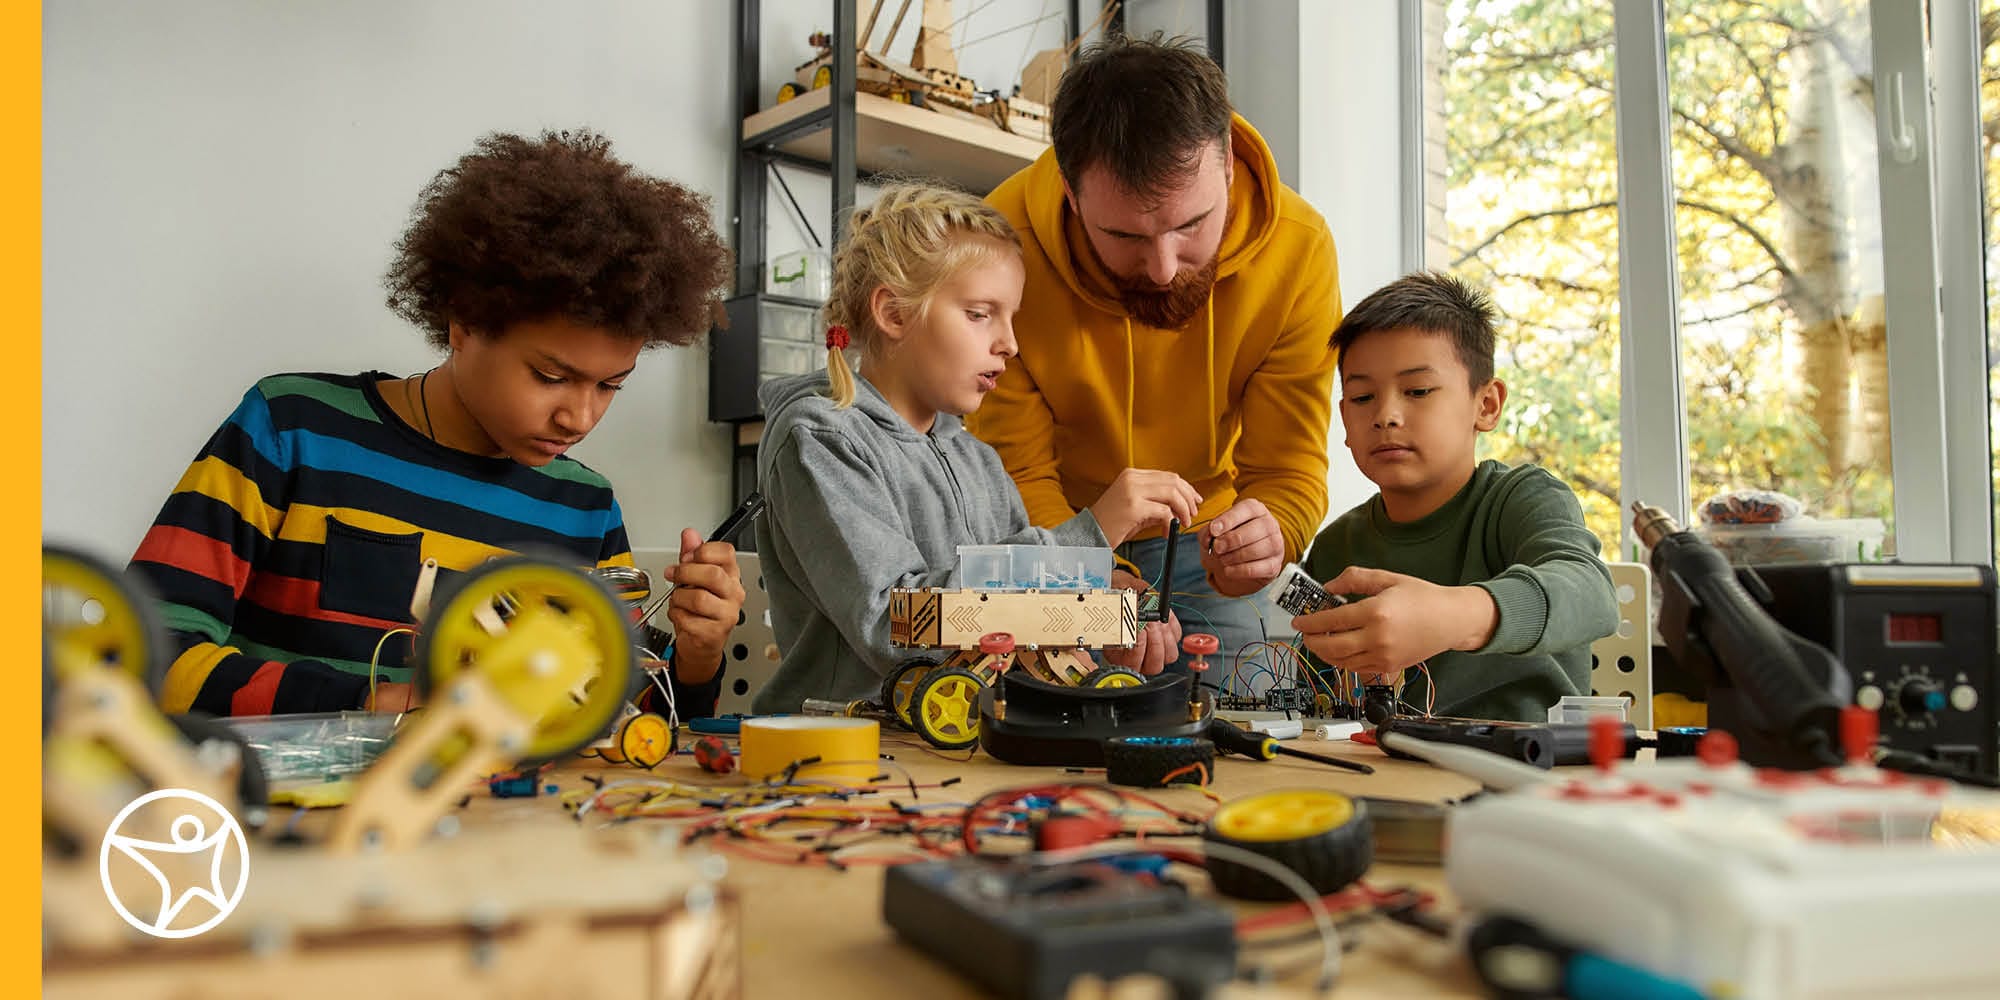
STEM activities teach students to investigate and engineer solutions to problems, and to construct evidence-based explanations of real-world phenomena. That’s in keeping with the scientific method, a process for experimentation used to explore, make observations, and answer questions.
Here are three STEM activities for your high school student to experiment with at home. They will make observations, answer questions, and still have a bit of fun.
Download our 3 STEM Activities Here
1. How to Make a Lava Lamp
Learn how to make a lava lamp from home with this STEM science activity.
Maybe on your next Throwback Thursday, help your student hone their observation skills with this demonstration of chemical reactions, gas, and surface tension. Source(opens in a new tab).
What You’ll Need:
- Effervescent antacid tablet (e.g., Alka-Seltzer)
- Vegetable oil
- Water
- Tall clear plastic container (1- or 2-liter bottle)
- Food coloring or beet juice
What to Do:
- Fill the bottle about 2/3 full with oil.
- Add 8 to 10 drops of food coloring.
- Fill the rest of the bottle with water to a few inches below the brim.
- Add a half or quarter of an antacid tablet to the bottle.
What You’ll Learn:
Oil floats on the water because it is less dense than water. The two do not mix because water is composed of polar molecules(opens in a new tab) and oil is composed of nonpolar molecules. The antacid tablet is denser than the oil or the water, so it sinks and begins to dissolve when it hits the water. The chemicals in the tablet react with each other to create bubbles of carbon dioxide gas. The gas makes the bubbles less dense than the water and the oil, so they float to the surface. Meanwhile, because the water is attracted to itself and not the oil, the water-and-gas mixture moves through the oil in a “ball.”
When a ball of water and gas gets to the surface, some carbon dioxide gas bubbles pop, which makes the remaining gas and water ball denser than the oil. So, the now-heavier ball of water and gas sinks back through the oil to re-join the water.
Changes in density as gas is added or escapes from bubbles of water causes them to float or sink and create a “lava lamp effect.” A real lava lamp has liquids of similar density. When it is plugged in, heat (usually from a light bulb) causes portions of the slightly less dense liquid to rise, and as it cools near the surface, fall again. The “lava” changes in slow motion because heat absorption and dissipation happen slowly, and the density changes are very slight.
2. How to Build a Bridge
Learn how to design and build a bridge from home with this STEM engineering activity.
This project demonstrates engineering concepts. A bridge must bear the weight of the people and/or materials that cross it. A beam-style bridge, most easily illustrated as a log across a stream, becomes weaker as the beam becomes longer. Eventually, we need a design that distributes weight better. In some regions, bridges are also expected to be earthquake resistant. So, how do you design a bridge that is long enough, strong enough, and can withstand an earthquake?
What You’ll Need:
- Paper and pencil
- Popsicle sticks (from a craft store)
- Glue
- Tape
- Books
- 2 chairs
What to Do:
- Research common types of bridges, such as beam, arch, truss, cantilever, suspension, and cable-stayed (see Page 2 at the link above).
- Design your bridge! Draw your design on paper.
- Using popsicle sticks and glue, build a bridge that is at least 12 inches long.
- Once the glue dries, tape (or get help to hold) your bridge between two chairs.
- Place a book or two on the center of your bridge. Does the bridge hold?
- Simulate an earthquake by shaking the chairs a little, then more and more.
- If your bridge didn’t stay up, redesign it and try again.
- If it did stay up, make it longer and test it again.
What You’ll Learn:
By building bridges with arches or trusses (triangle shapes), or supportive cables (suspension or cable-stayed), the weight and other forces on the bridge are spread out. This allows bridges to span larger gaps. Flexible joints and materials might allow a bridge to move and shake without breaking during an earthquake. Try loosely taping your bridge together instead of gluing it.
3. Learn How the Doppler Effect Works
Learn how the doppler effect works, and how to measure it with this STEM physics activity that can be done from home.
When the source of a sound moves in relation to you, its pitch changes. Think about the sound of a car zooming past you on the street. The sound doesn’t change. It’s your perception of the sound that changes. This is known as the “Doppler effect,” and this STEM experiment shows you how it works. Source(opens in a new tab).
What You’ll Need:
- Tennis ball or whiffle ball (that you can cut open)
- Knife
- A 9-volt battery and connector
- A 9-volt buzzer (a high-pitched one works best)
- Scrap paper to pack inside the ball
- Heavy rubber bands or tape
- Strong string
- Optional: Toggle (on/off) switch (available at hardware stores)
What to Do:
- Cut a slit halfway around the ball with a sharp knife.
- Connect one wire from one terminal on the battery to the wire from one terminal on the buzzer. (Be sure to connect the buzzer terminal—(+) or (–)—to the matching battery terminal.)
- There will be a wire connected to the remaining terminal on the battery and another wire connected to the remaining terminal on the buzzer. Place both battery and buzzer inside the ball, leaving these two unconnected wire ends sticking out of the ball.
- Pack the ball loosely with paper, positioning the buzzer close to the inner surface of the ball.
- Twist the remaining two wires together to turn the buzzer on, then close the ball and secure the wires with rubber bands or tape. To turn the buzzer on and off more conveniently, wire a toggle switch into your circuit.
- Attach the ball securely to a string and twirl it around your head, or toss the ball back and forth with a partner. You might also have a group of students toss the ball around.
- Notice how the pitch of the buzzer changes as the ball approaches you or moves away from you.
What You’ll Learn:
As an oscillator (the buzzer) moves toward you it is, in effect, catching up (slightly) with its own sound waves. With each successive pulse of the buzzer, the sound source is a little closer to you, so the waves are squeezed together and more of them reach your ear each second than they would if the buzzer were standing still. This makes the pitch of the buzzer sound higher. As the buzzer moves away from you, fewer waves reach your ear each second, so the pitch sounds lower. The frequency of the buzzer itself does not change.
For your ears to detect this effect—the Doppler effect—the sound source has to be moving toward or away from you at a minimum speed of about 15 to 20 mph (24 to 32 kph). The faster the sound source moves, the more pronounced the effect becomes.
If the buzzer has a frequency of 100 hertz, and it is moving toward you through still air at 35 meters per second, then the pitch you hear will be 110 hertz. This result comes from the equation:
pitch = f/(1–v/vs)
In this equation, f is the frequency, v is the speed of the source of the sound, and vs is the speed of sound, which is 350 meters per second. If the object is moving away from you, simply replace the minus sign with a plus sign.
The Doppler effect is also observed with light. In the case of light, it’s the color that changes. As an object moves away, it becomes slightly redder. As an object approaches, it appears bluer. This effect allows astronomers to determine whether galaxies are coming closer or moving away from us, and even how fast they’re moving. The bigger the “red shift,” the faster they’re moving away.
Keep Your Students Exploring with Additional STEM Activities
Promoting your kids’ interest in STEM concepts will serve them well in the future. Each of the sources of our STEM experiments above has several more activities on their sites to try. For your elementary and middle school students, here are five STEM activities for kids that you can do at home.
Whether your student is enrolled in a traditional brick-and-mortar school, is homeschooled, or is attending a virtual school like Connections Academy, the STEM fun doesn’t have to stop here. Check out these additional resources to encourage your student to explore STEM concepts.

Ready to Learn More
About Connections Academy?
Explore the benefits of attending Connections Academy, a tuition-free, accredited online public school that’s passionate about helping your child thrive.
